This is my new Plum Paper Planner, and is most definitely one of my favorite possessions right now!

It came packaged like this...
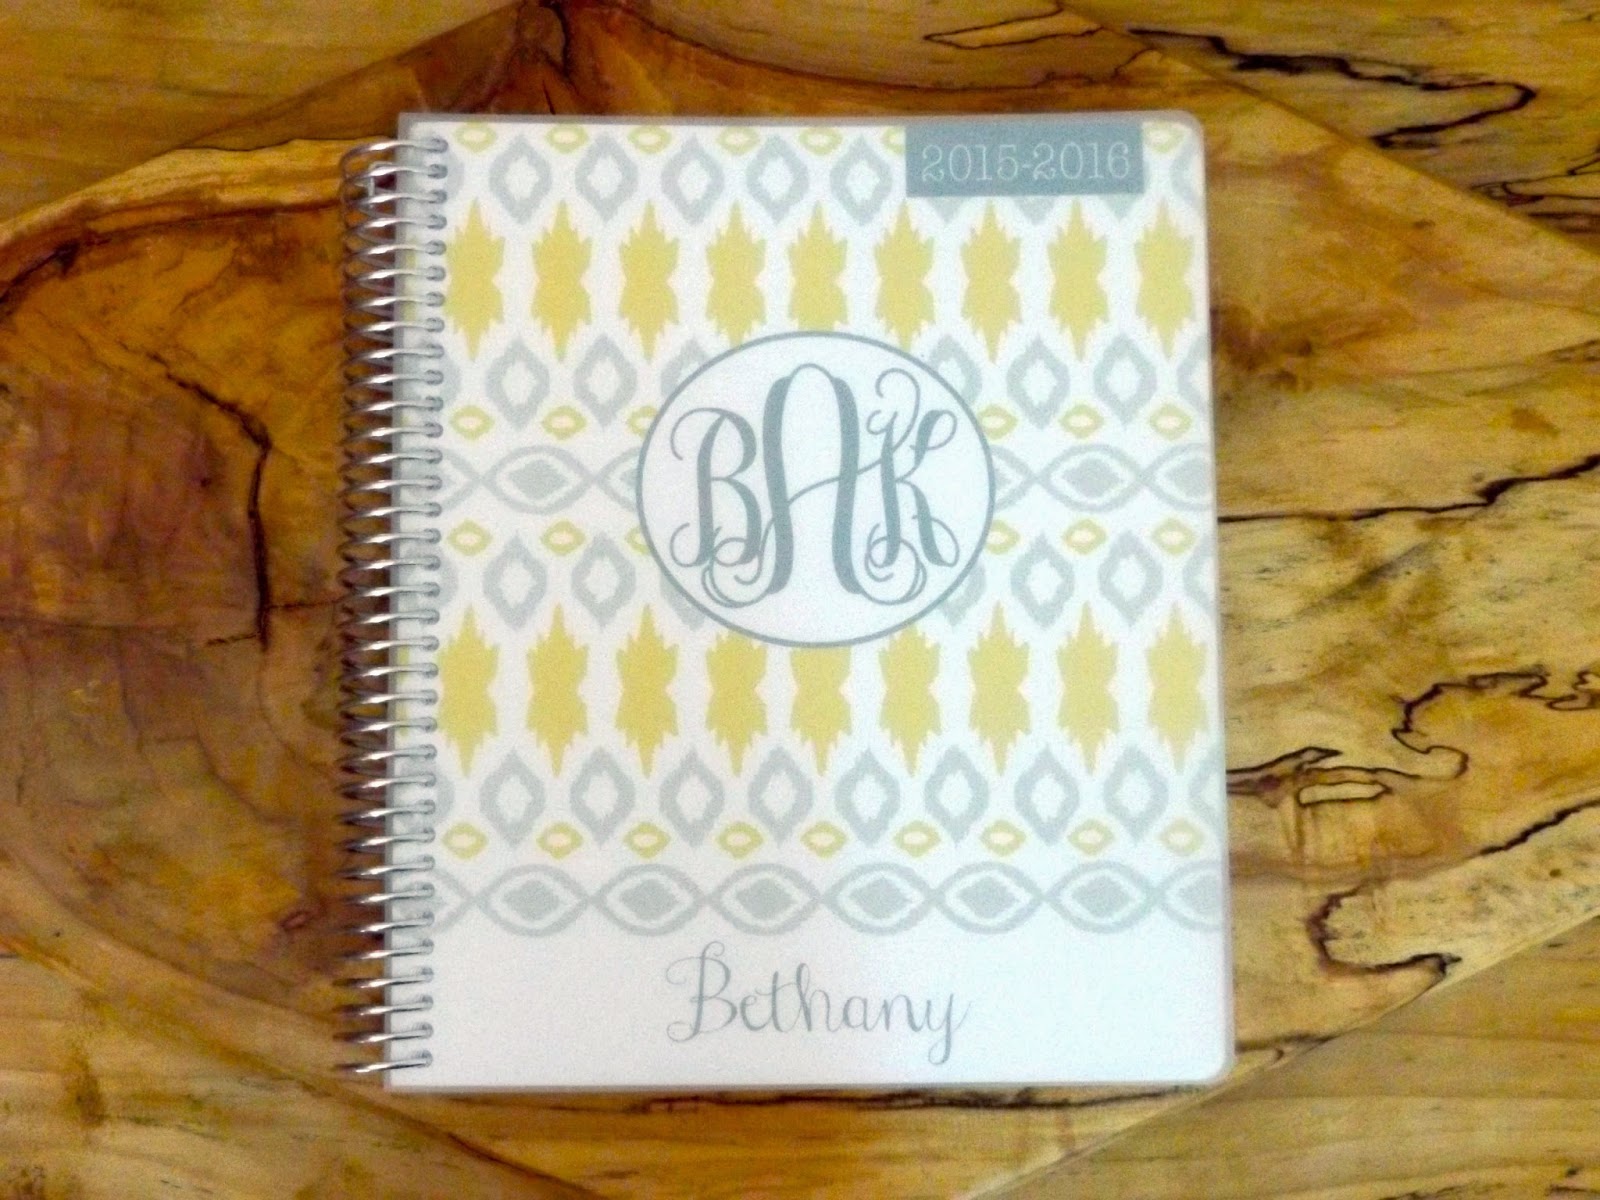
I got this design, and added on an extra six months, making it an 18 month planner. That was the really cool thing about this company, everything is customizable. You can get your name and monogram on certain planner designs for free, you can add extra months like I did, add extra notes pages, budget pages, and more! The standard planner with an extra six months was $48.75, which was pretty expensive... but it was a Christmas present, and will last me through the first year of college, so I could justify it!

It has tabs on the side, which are laminated and reinforced

One of the first pages in the planner is a full 2015 planner, and on the next pages a 2016 calendar.

Each month begins with two note pages, which I haven't fully decided what to do with yet..

For now I am just using it as a catch all for sticky notes when I am planning an event, these are from Valentine's day :)

After the notes pages come the monthly view, and each month comes with a color scheme! I use this mostly for marking important date (birthdays, college visits, baby showers, etc.), and the notes box for marking general dates I need to complete things in, such as getting a haircut.

This is the weekly view I chose. There were four different options, the lines that I chose, time blocks, morning afternoon and night blocks, and just notes sheets without a weekly view.

On the left side of each weekly view there is a notes box which I use for shopping lists of quotes, and a weekly checklist which I use for important activities.

At the bottom of each day is a checklist, which I use for reeeally important assignments

These are some products that I enjoy using in my planner from The ECPlanner Kit Lady shop on Etsy. My favorite are the colorful circles for important events and cupcakes for birthdays. I have yet to decide what to do with the washi tape and stickers, but they are super cute so get them anyway!
I also really like just regular office labels from Walmart (show below)

This is what my planner looks like on a normal week...
I color code for assignments from different classes and place them at the bottom of the day, use pretty stickers for important activities, and then use the upper part of the block as a To-Do list.

This is a closer up view, and a view of the pretty stickers I use for important stuff!

Also, instead of placing scholarship deadlines at the bottom of the day, I put the top so I will see them easier.

And then it is the next month with another notes page and divider!

At the back of the planner there are blocks where you place important recurring events by month, which I don't really use.

Behind that there is a contacts page, and a holidays page, both of which I don't really use either.

Finally, there is another yearly calender!
I know it is expensive, but it is well made, and well worth the investment in my opinion. If I had it to do over, and even had to buy it myself instead of as a Christmas present, I would choose it again!
Comments
Post a Comment